In this article, I will share my experience using the Nikon Z MC 105mm f/2.8 VR S lens in the field. I have attempted close-up photography multiple times, but I always found the complexity of this technical genre overwhelming. However, with the emergence of mirrorless technology and this amazing lens, I have had better luck in the last year or so. Today’s article focuses on this lens, Nikon mirrorless in general, and my process to capture sharp close-up photos more easily.
The Nikon Z MC 105mm f/2.8 VR S is a technically and mechanically impressive lens. In Photography Life’s review, we gave it top marks in every category. I have been using mine for the last two years and have taken thousands of photos without any issues, often working in hot and humid locations. Despite being lightweight, it feels sturdy. And it is.
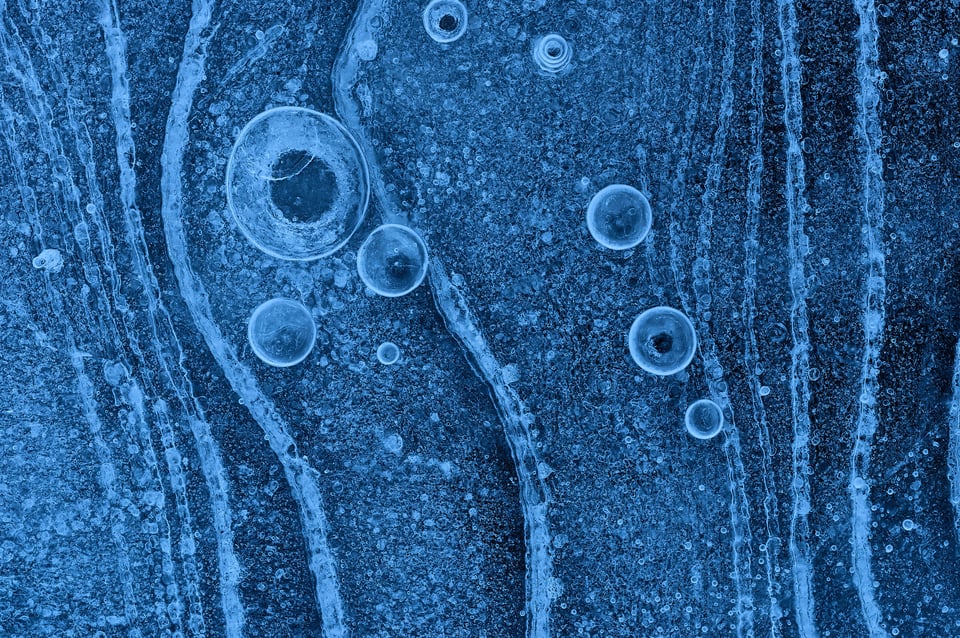
One thing that has impressed me is the vibration reduction system, which continues to be effective even at close distances. The bokeh and sharpness of the lens are also excellent. I felt that the previous F-mount Nikon 105mm f/2.8 macro lens was also very strong, but it tended to get color fringes in out-of-focus regions (longitudinal chromatic aberration). The mirrorless version doesn’t have that issue.
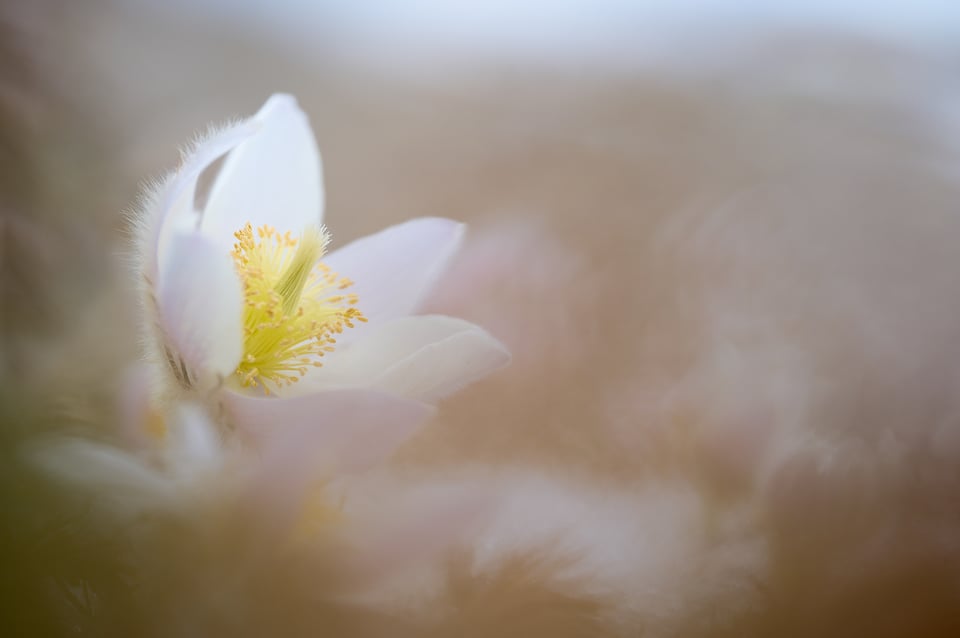
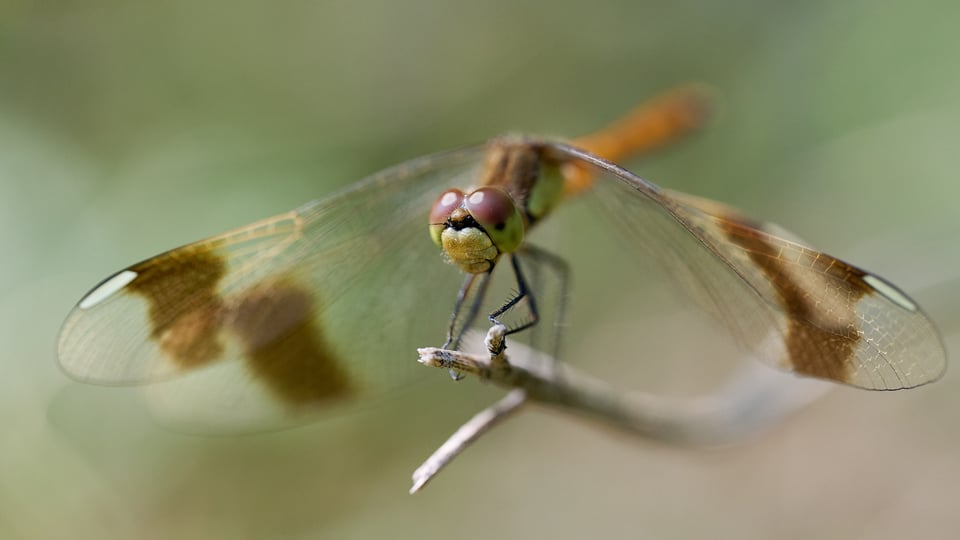
When focusing closely, shallow depth of field is inevitable. And this type of photo is both popular and visually appealing when done right. The longer the lens, the bigger the out-of-focus blur in the background becomes.
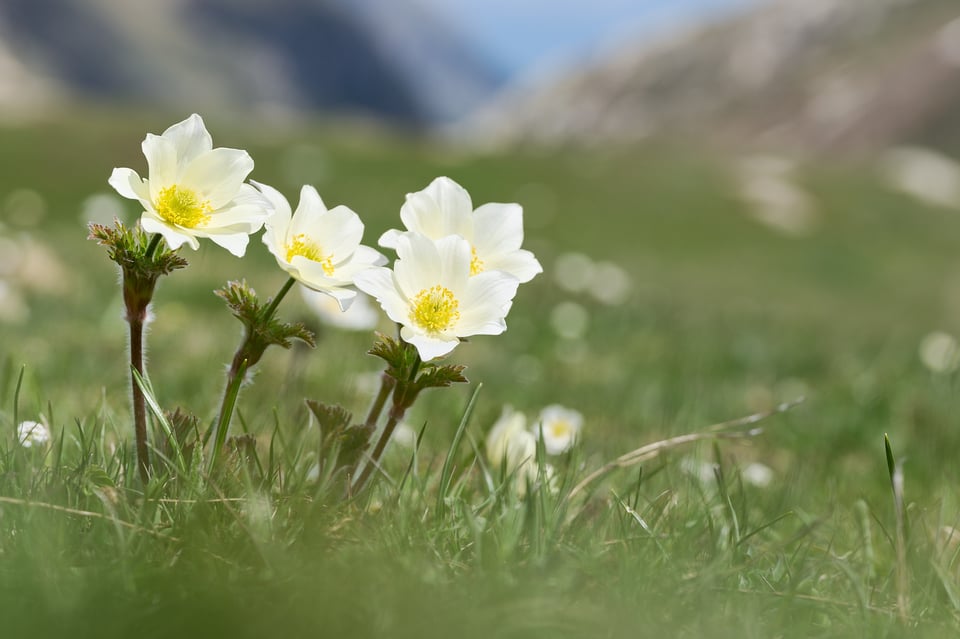
I believe that a 105mm lens strikes a good balance between the subject and its environment. 50mm or 60mm feels a bit on the short side, especially when photographing small animals or insects. At the same time, longer lenses tend to make the entire background turn into a uniform wall of colors. I don’t hesitate to use this effect sometimes, but these days, I feel like it’s the difference between a plate of creamed peas and a plate of lasagna. There’s often more interest when you can see some of the background.
However, I don’t want to be too assertive about it. At the end of the day, every macro photographer will have their own preferences, just as there is always a debate between 300mm, 400mm, 500mm, 600mm, and 800mm in wildlife photography. They don’t necessarily compete with each other, as they serve different purposes.
And yes, the longer the lens, the easier to photograph a shy subject without scaring it away. The blurrier backgrounds can also be welcome if your photo is more of a “portrait” style. But it becomes more difficult to include the environment, which can help to tell the story. Of course, Nikon doesn’t make a 200mm macro yet, so all of this could sound a bit academic. But there are options like adapting lenses or using the Nikon 100-400mm for close-up photography if you need something longer.
Getting a dedicated macro lens is not the only way to take close-up photos, and I have experimented with some of the other options before. Extension tubes and close-up filters are two of the main choices. And you may feel that, if you can achieve macro photos with those accessories, why bother with a dedicated macro lens?
However, in my experience, I became frustrated using these tools. Getting sufficient working distance was difficult with extension tubes, and sharpness was compromised with close-up filters. By comparison, macro lenses are optimized for maximum performance at close distances. They are a bit of a luxury, but they work better than any alternative, especially when shooting at a wide aperture.
I have found that recent cameras have included a lot of improvements for macro photography. Stabilization is better than ever, maybe because of the combination of in-body image stabilization and lens-based VR. It works effectively even in macro photography, which was not always the case in the past.
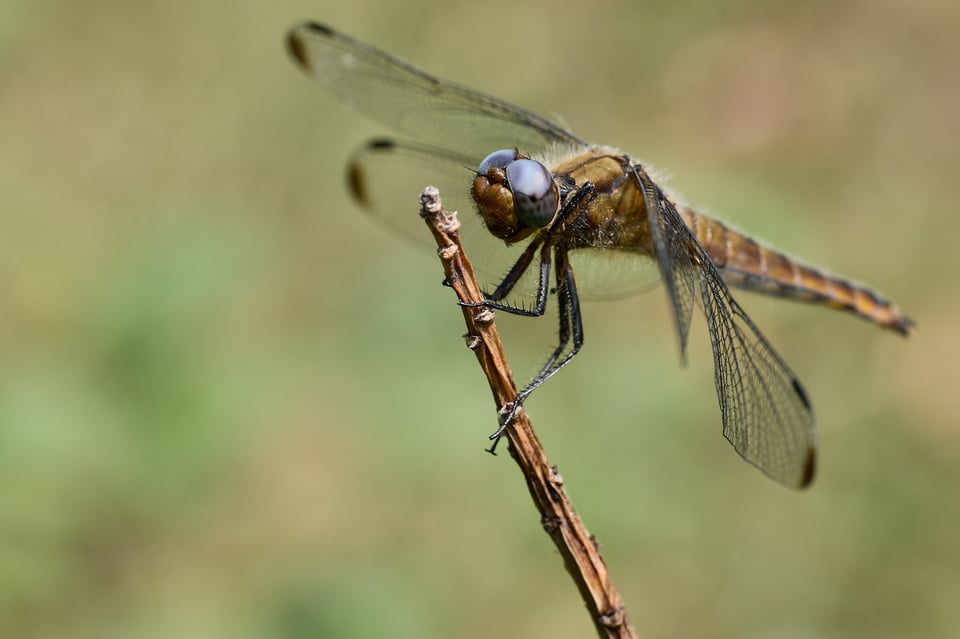
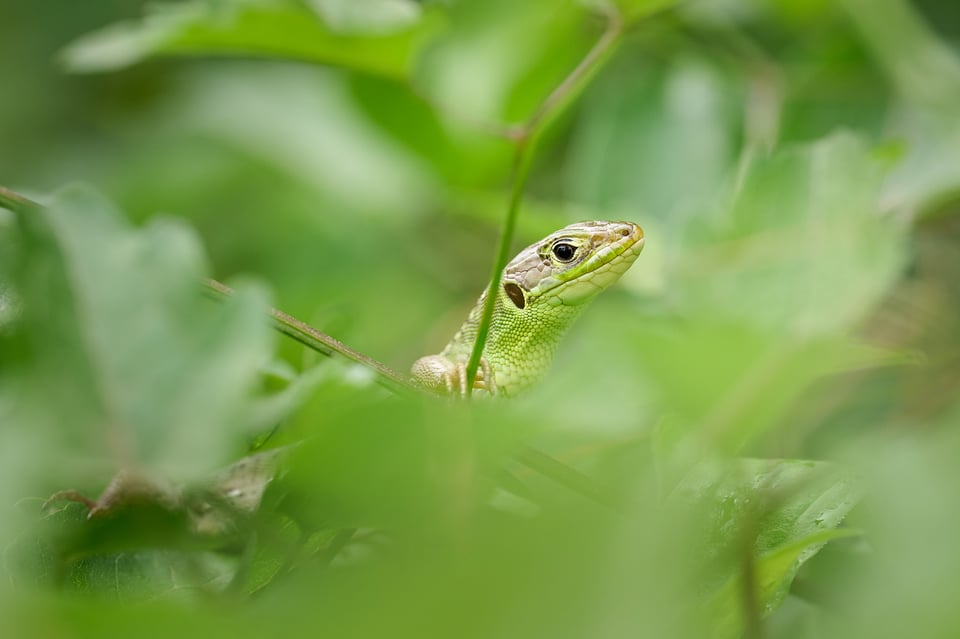
You can also count me a fan of articulating LCD screens. I prefer to take close-up photos without a tripod, as it allows me move easily and to get very close to the ground. In fact, I often place the camera on the ground and sometimes even use my Z9 upside-down to get as low as possible. It wouldn’t be possible to frame these images without a flexible screen, and the ability to autofocus anywhere in the frame. This isn’t just a feature of mirrorless cameras but also true of many of the later DSLRs.
Shooting handheld allows me to move and find the desired angle, background, and composition without scaring off the subjects. I still need to move slowly and pay attention to the direction of the light to avoid casting shadows on the subjects, which would scare them. But it is night and day compared with trying to do the same thing managing a stable tripod and head.
Here are two tips:
- Remove the lens hood when not needed, thereby increasing the working distance from the subject
- When approaching a nervous macro subject, try to move your arms forward while keeping your head and body further back. This will scare the subject less and reduce the likelihood of it running away.
Although I appreciate articulating LCD monitors, I still prefer to shoot via the viewfinder whenever possible. In this regard, I think DSLRs and mirrorless cameras have their own advantages. But I’ve grown to love the electronic viewfinder. It helps to review the photos without having to move (thereby scaring my subject away). It’s also nice to see clear evidence of the in-focus areas before the shot, especially when I want to ensure that I’m completely parallel to my subject.
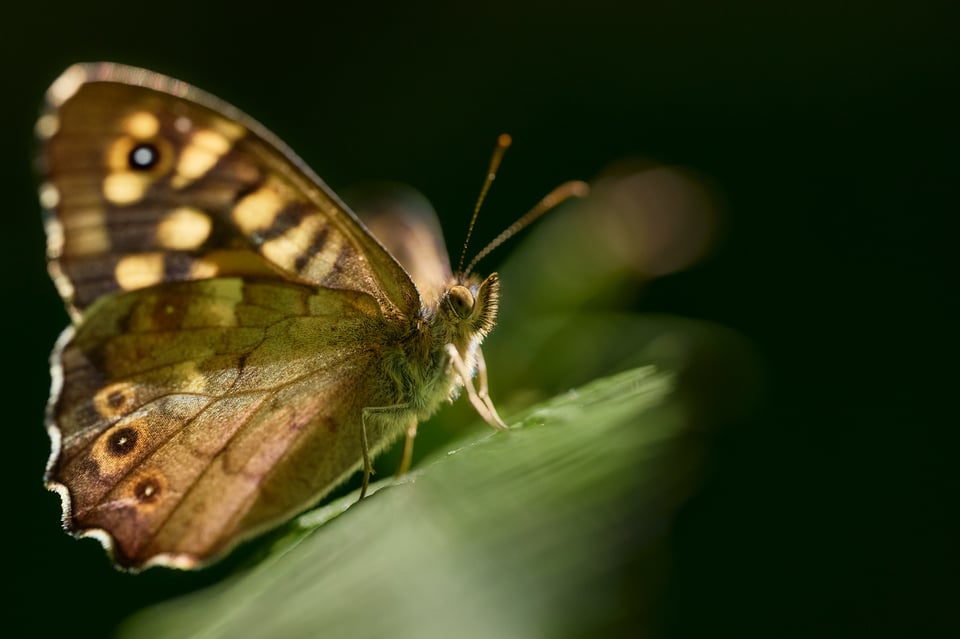
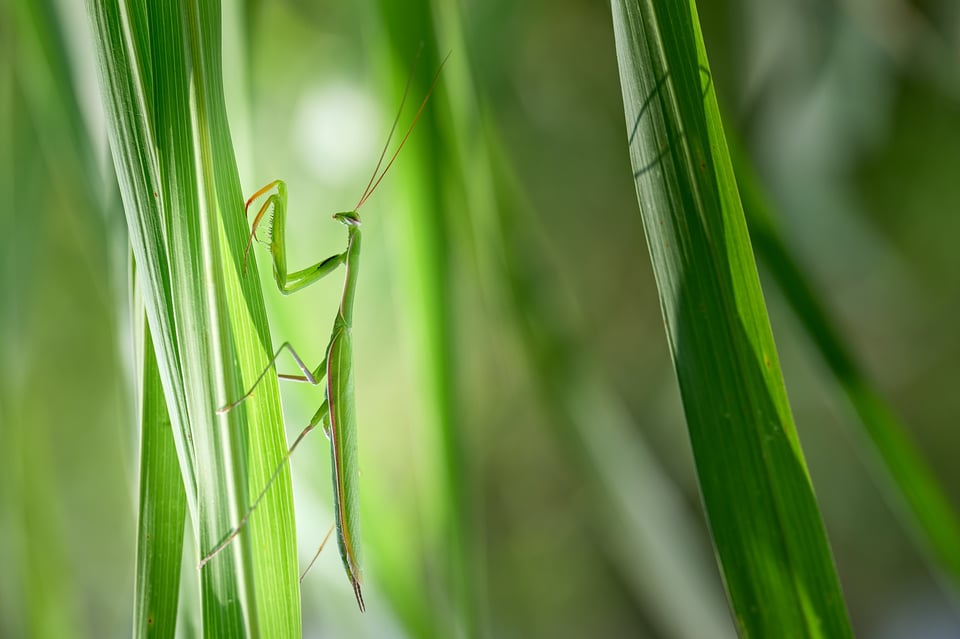
I typically work in continuous autofocus (AF-C). However, by rotating the focus ring slightly and employing manual focus instead, the camera shows the in-focus areas letting me check if I am parallel to the subject. Then I will jump back to autofocus quickly. This gives me a preview of the in-focus areas even with autofocus, and that’s how I managed to have the Praying Mantis perfectly in focus while handholding at a few inches from the ground.
If I may, I have a request for Nikon. It would be useful to see focus peaking data even while using autofocus. This feature would help anyone who shoots macro photos handheld, especially if it could be coupled to a function button to quickly enable.
Wrapping up, my recipe for easy close-up photography primarily involves working freehand with Vibration Reduction engaged, using AF-C, and taking bursts of 4-5 photographs to ensure sharp photos. I do not use a flash most of the time for these photos, although extreme 1-to-1 magnification macro photography sometimes requires it. Finally, I like to engage focus peaking (by rotating the focus ring a little bit) to confirm that I’m aligning my subject as well as possible with my depth of field.
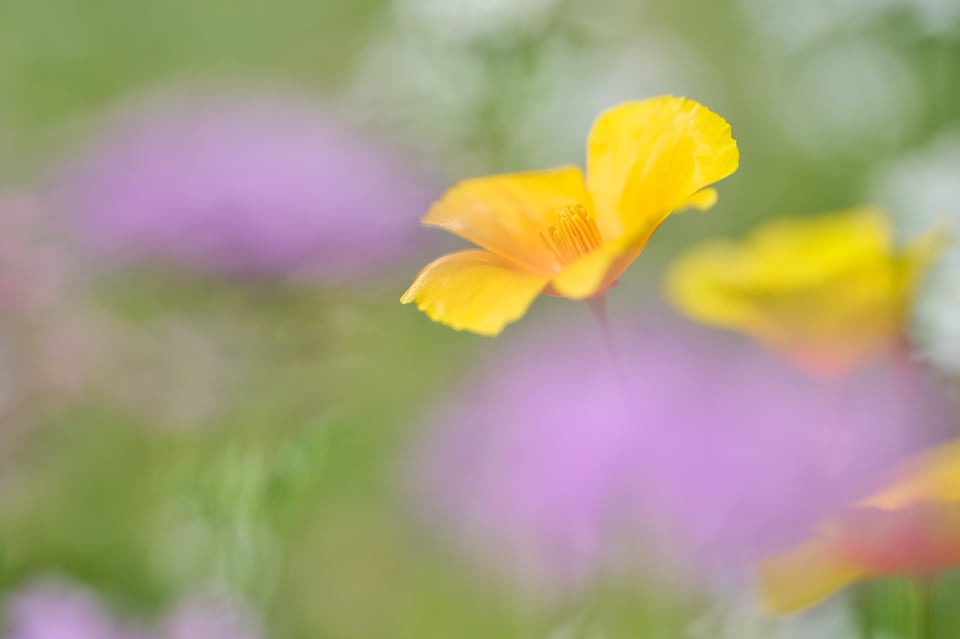
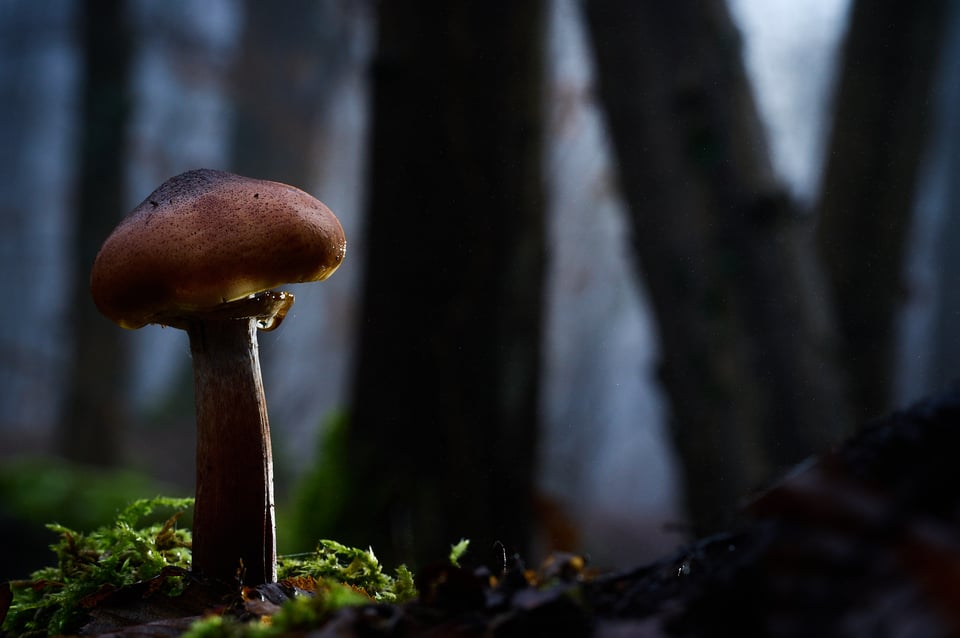
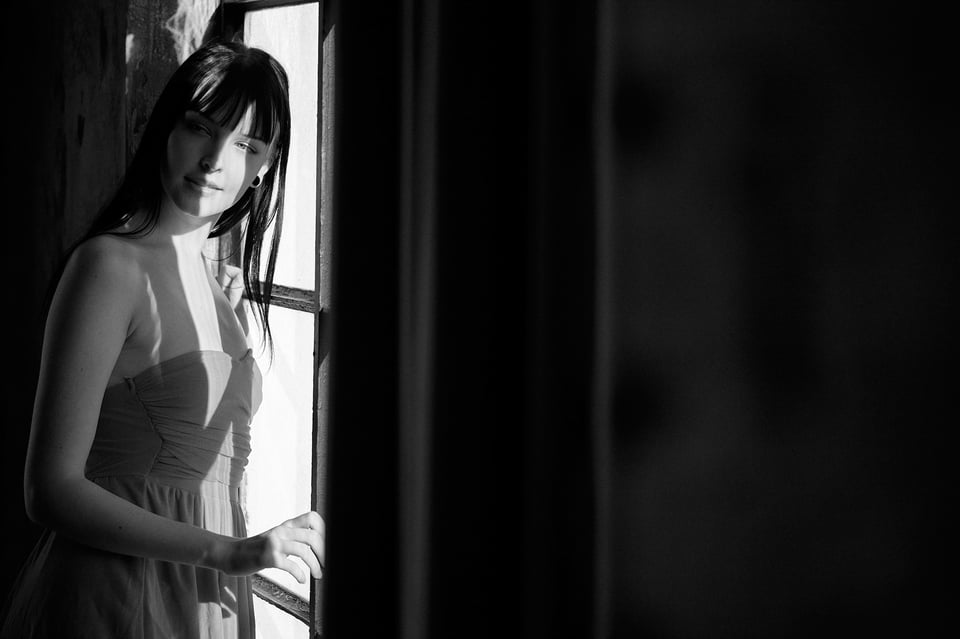
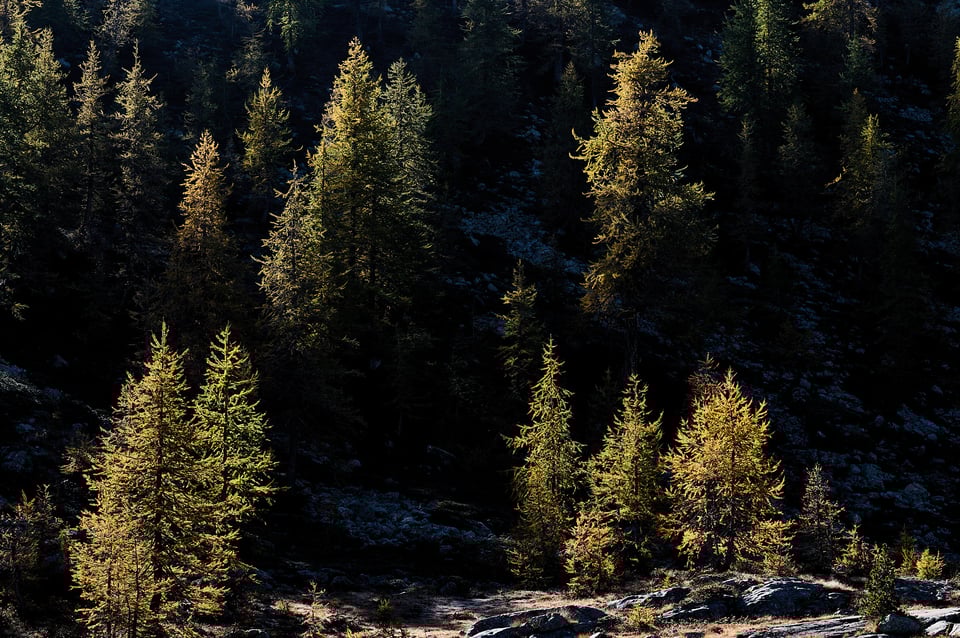
Nikon’s 105mm f/2.8 MC lens is incredibly good and has made some of these tasks easier. I’ve also enjoyed it for landscapes and portrait photos. A zoom may be more flexible, but don’t underestimate the capability of macro lenses. To document it, I added just a couple of frames I shot in totally different conditions.
My advice to prime lens lovers is to pair the Z MC 105mm f/2.8 with a few other primes, such as a 50mm for portraits and a 24mm for landscapes. It could also pair with the Nikon Z 180-600mm f/5.6-6.3 if you need something longer, as I don’t think the gap between 105mm and 180mm is a problem most of the time.
I hope you enjoyed this article on my experience using the Nikon Z MC 105mm f/2.8 VR S lens in the field, along with a few tips to make close-up photographer easier. If you have any questions or feedback, please feel free to let me know in the comments section below.