In recent years, photographers have been spoiled by a variety of Raw developers in addition to Adobe Lightroom, such as Capture One Pro and ON1 PhotoRaw. Another option is DxO PhotoLab 7, which I’ll be reviewing today. How does it stand up to its competitors?
Introduction
I have to admit, I enjoy trying Raw developers. Although I use Darktable as my primary editor, I’ve tried many others, including Adobe Lightroom, Capture One Pro, Corel Aftershot Pro, Rawtherapee, and even colored pencils by hand in a desperate situation with some prints I once made.
Recently, I wanted to compare DxO PhotoLab 7 against some alternatives and process a few photos with it. One of PhotoLab’s main features is that it integrates DxO’s popular noise reduction algorithms also found in PureRaw 4. Besides that, it claims to have “a color space designed exclusively for DxO software,” so I was eager to test it out on some difficult files. In this review, except for the comparison samples, all images were edited with DxO PhotoLab 7.
Disclaimer: DxO gave me a license so that I could test out their software. I was not compensated otherwise.
Notable Features
DxO technologies is one of the leaders is noise reduction with its PureRaw software. PureRaw takes a Raw file and gives you a denoised Raw file using advanced machine-learning algorithms, which you can edit in any Raw developer. I tested PureRaw 3 before and found it to give very good results, and PureRaw 4 promises to be even better – though there is no such thing as a magic noise reduction algorithm.
Along with incorporating PureRaw 4 into PhotoLab 7, DxO also has a superb collection of modules for lens and camera combinations. While PhotoLab 7 is a somewhat minor upgrade over PhotoLab 6, it does add more local adjustment features and other tools like color lookup tables. Other than that, DxO PhotoLab 7 contains all the basic editing features expected of a modern Raw processor.
Stress Tests
There are two stress tests I like to subject Raw developers to: the blown-out highlights test and the demosaicing test.
Blown-Out Highlight Stress Test
The first test involves the ability to handle clipped highlights, whether the highlights are clipped on purpose in post-production or blown out in your Raw file. Poor handling of these areas can lead to unsightly problems that ruin the look of your photo.
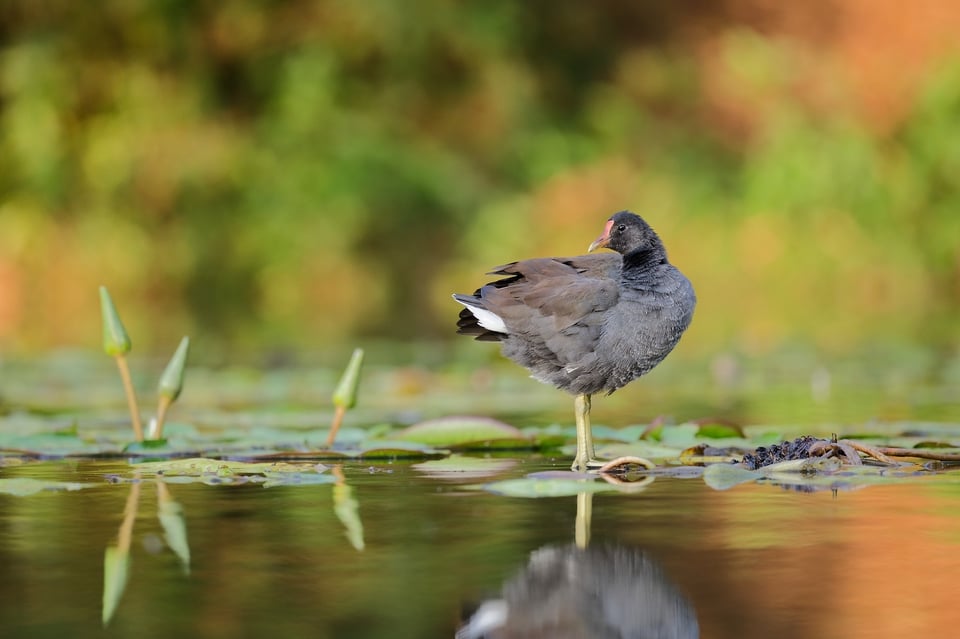
How does DxO PhotoLab 7 compare to some other Raw developers? I compared DxO PhotoLab against four other editors: Adobe Lightroom, Capture One Pro, Rawtherapee, and Darktable. I choose a scene for the testing where low sun is shining through the leaves:
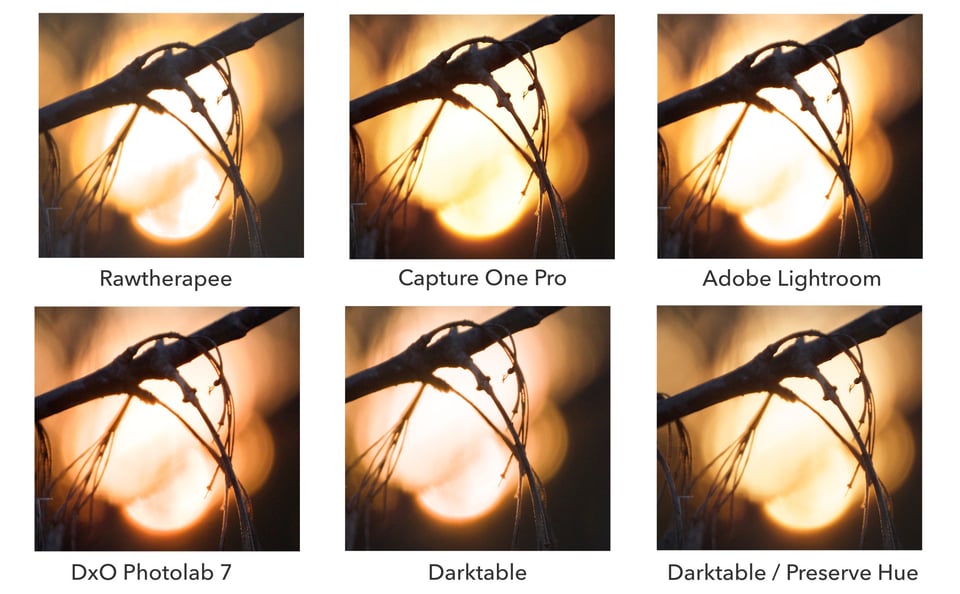
Right off the bat, Rawtherapee strikes me as the worst at handling highlights, with some very sharp transitions between the different tonal ranges in the brightest areas. We can see that DxO PhotoLab 7 is much better.
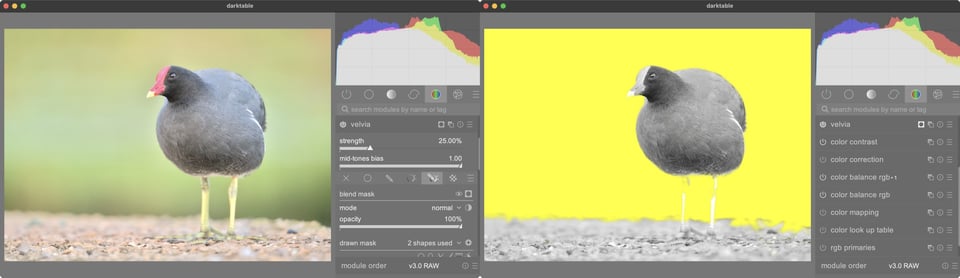
Things get interesting when we compare the results to Capture One Pro and Lightroom. Both are quite similar, but by default, Capture One and Lightroom both attempt to preserve the yellows, whereas DxO’s default takes a route similar to darktable’s default settings with the sigmoid module, resulting in a more salmon color. In some cases, you should be able to make some changes to the color with careful editing, as can be seen using “preserve hue” slider in the second darktable example.
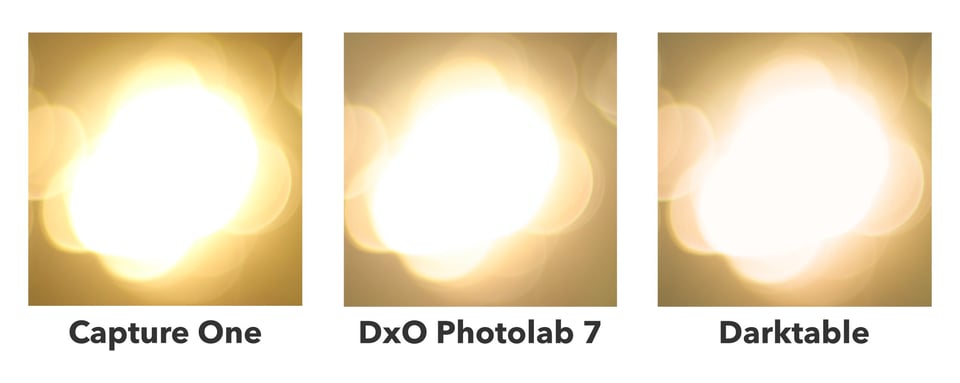
Interestingly, in my actual usage, I found DxO PhotoLab 7 to give slightly smoother results in some cases compared to Capture One Pro:
Although again, one can get good results in any program, I felt the highlight handling in DxO is very “friendly” as I found it hard to force harsh highlight rendering. Regardless of how I pushed the exposure slider or tone curve in DxO, the transition to clipped colors remains smooth and delicate.
I did find something strange with the tone curve tool in PhotoLab 7, however. Namely, manipulating the tone curve is almost like editing a JPEG: you can very easily get clipped colors. I found this to be a shame given how much attention DxO gave to color science in other areas of the editor.

The Demosaic Test
Demosaicing is the process by which Bayer or X-Trans sensor data is transformed into RGB pixel data for displaying. There are many ways to do this, and each has its advantages and disadvantages. Many photographers may never need to know about which algorithm their Raw developer uses.
But, for people who shoot very fine patters such as clothing and feather detail, the matter of demosaicing becomes more important. That’s because the choice of demosaicing algorithm greatly affects the rendering of fine detail and the appearance of moiré. (Briefly, moiré is the appearance of false color in very fine detail.)
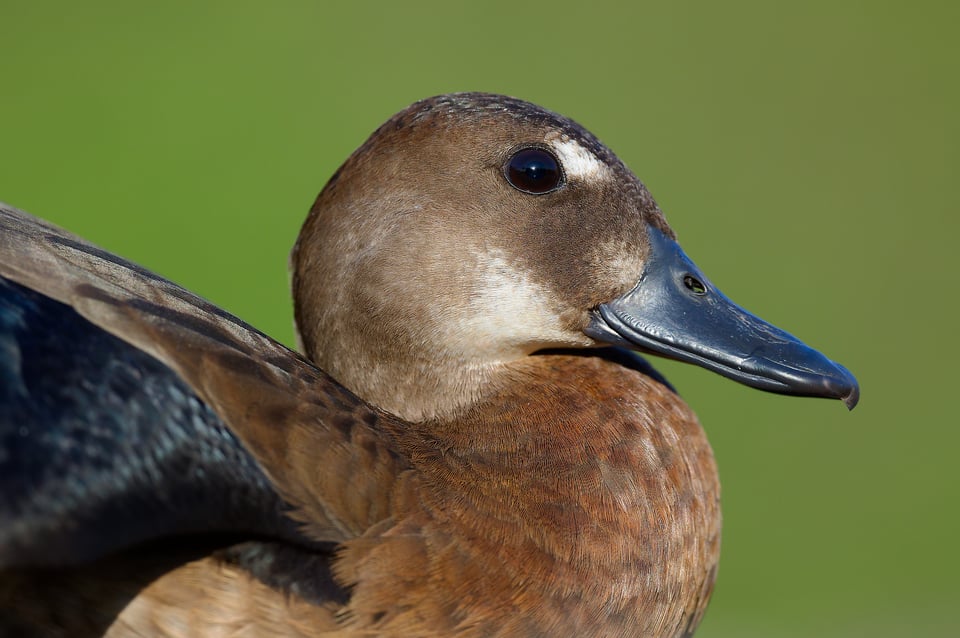
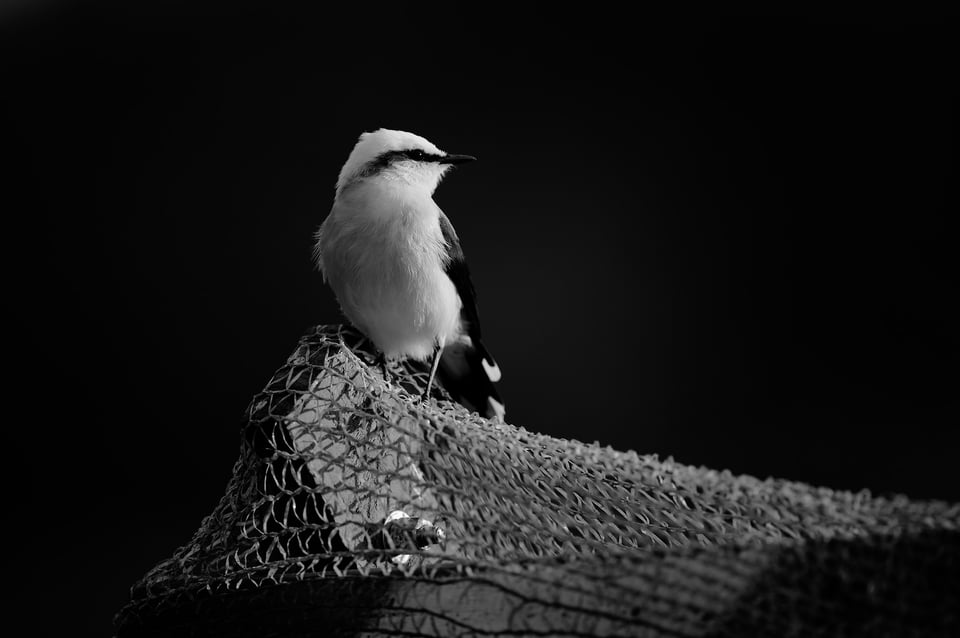
As a wildlife photographer, I find moiré appearing from time to time in certain Raw developers. I tested DxO for how it handles demosaicing fine details that can induce moiré, and here are the results:

By default, I found moiré present in very fine feather detail. DxO PhotoLab 7 has a moiré reduction tool which is easy to use, and I turned it on to get the top left square. The tool does a good job of removing false color, but the “moiré pattern” still persists in a few locations.
Interestingly, the pattern is greatly reduced in most areas once DxO’s DeepPrimeXD noise reduction is turned on. If you view the graphic at 100%, you’ll see that many of the unsightly moiré patterns vanish. Unfortunately, some of the worst-case scenarios as shown by the bottom-left arrow don’t completely disappear, and the effects can be seen even in an uncropped image on my 13″ laptop screen.
Also in the graphic are two reference demosaicing algorithms: PPG and LMMSE. The PPG algorithm is a fast but low-qualtiy algorithm that frequently produces moiré, and in many cases it can be quite bad. However, the LMMSE algorithm is exceptionally good at handling moiré and I have never in practice seen the effects of moiré when using it.
In practice, I found DxO to be very good, but as the reference LMMSE algorithm shows, DxO should consider providing alternative algorithms as an option, as there is definitely room for improvement.
Masking
Another area where Raw editors differ is the ability to do local edits. DxO PhotoLab 7 does have masks, although the default version of the software only has drawn masks. To get the luminosity masking feature that allows you to select a region by luminosity, you need to upgrade it with DxO Filmpack 7 for $139 – I find this frustrating given that PhotoLab 7 is already not cheap at $229 for the “Elite” edition.
DxO’s masking interface uses a separate panel where you draw a bunch of mask layers and make local adjustments with the separate sliders in the mask interface. It’s more similar to masking in Lightroom Classic (especially older versions) than to Photoshop or Capture One’s implementation of layers.
In terms of power, DxO PhotoLab 7 is a bit limited in that it only does drawn masks. Lightroom and Capture One both have luminosity masks and smart subject selections. My usual editor, Darktable, does not have smart subject selection, but it has a powerful parametric masking tool that allows you to easily specify areas based on any parameter of your color space. PhotoLab 7 feels a little lacking in this regard.
DxO PhotoLab 7’s masks are a bit limited as well. You’ve got some basic free-form drawn masks and gradient masks, but radial masks are missing. I spent some time trying to emulate radial masks for custom vignetting but I could not get it to work. In contrast, it is very easy to draw a radial mask in Capture One, Lightroom, and Darktable.
Final Impressions and Recommendations
After working with DxO PhotoLab 7, I found it to be a capable editor. The inclusion of DxO’s denoising algorithms make it particularly suitable for wildlife where there is often too little light, and it is ahead of almost all of its competitors in that regard.
In terms of usability, compared to both Capture One and Lightroom, I found DxO PhotoLab 7 to be easier to use. It is true that Capture One and Lightroom can be learned with time, but I felt that DxO was the most beginner friendly.
In particular, PhotoLab 7 gives you a simple file browser and will not overwhelm the beginner with catalog creation or workspaces. Its interface is also a bit less cluttered than Capture One Pro, and I found it fairly easy to find the tools I needed, especially with PhotoLab 7’s search bar. If you want a powerful editor that isn’t as heavy as Lightroom, I would definitely recommend giving DxO PhotoLab a try.
DxO has many of the features you will need to edit Raw files. It does a very good job of handling color, and in particular I was very impressed by its ability to handle smooth transitions in clipped highlights. In terms of negatives, it needs more masking-related features, and its tone curve needs improvement. (It seems to operate on the output color space, making it of limited use compared to using custom curves in other editors.)
DxO does lack a few “extras” that are useful for some photographers. For example, it does not have a panorama or stacking function. So, for example, landscape photographers who do a lot of panoramas may want to stick with Lightroom or Capture One. Overall, I feel that Capture One and Lightroom are aiming to be a complete toolkit for photographers with tethering and cross-device support, whereas DxO PhotoLab still shows its roots as a tool to maximize image quality (thanks to the lens corrections, sharpening, and noise reduction) that is slowly but steadily adding more Raw processing options.
Though $229 is not the cheapest software package on the market, I greatly appreciate the fact that it’s a one-time perpetual license, as opposed to the aggressive subscription strategies of Lightroom and Capture One Pro.
Conclusion
I enjoyed using DxO PhotoLab 7. It is easy to get the hang of and doesn’t overwhelm the beginner with options. It has a few things that could be improved, such as better demosaicing options, more advanced masks, and an improved tone curve tool, but it has some other unique features such as best-in-class denoising and excellent optical correction modules. Overall, I’d recommend giving DxO PhotoLab 7 a try if you think its feature set is sufficient for your needs. You can get it at their website for $229.


